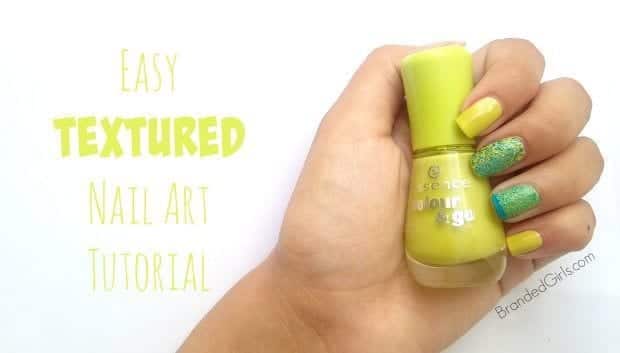
DIY Textured Nail Art Tutorial-Its back to school time and today I am here with a fun, textured nail art tutorial for you guys. Textured nails are preppy, funky, and very easy to do. These help in making a customized nail art in no time so without further ado let’s get into the tutorial. I call this nail art “The Double Trouble”
How to Make Textured Nail Designs Step by Step Tutorial
Things You Need:
– A base coat
– A neon lime green nail polish
– A blue nail polish
– A cosmetic sponge
– A top coat
[highlight]Dont forget to check my other tutorials :[/highlight]
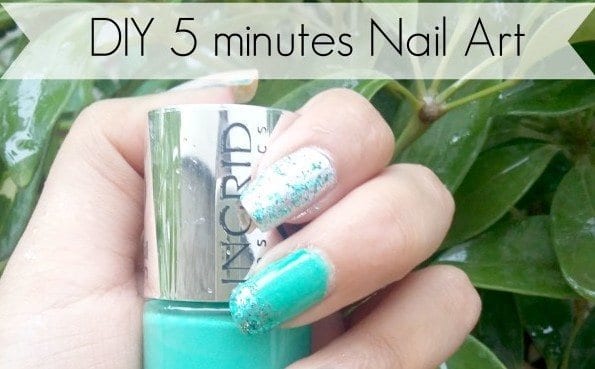
5 Minutes Easy DIY Nail Art Green Sparkles
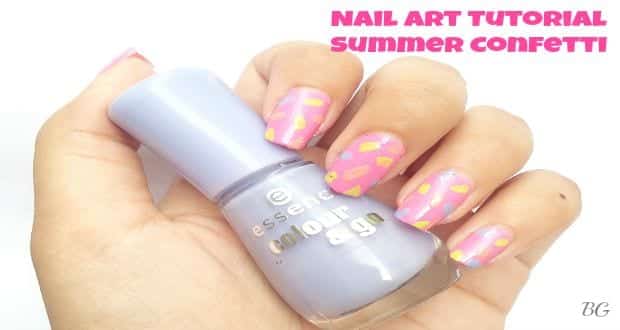
DIY Summer Nail Art Tutorial – Confetti Nail Design
Step 1
Apply your favorite base coat before staring your nail art. Never skip this step as base coat protects your nails from getting yellow, keeps them strong and healthy.
Step 2
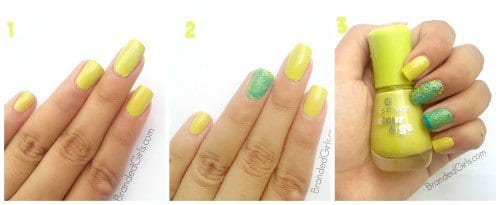
After your base coat has dried completely, apply two coats of the green neon nail polish on all your nails. I chose the neon green color because summers is all about funky colors and my summer nail art is incomplete without neon nail polishes. One thing that I like about the Double Trouble nail art is that you can any two contrasting colors to get the texture.
Step 3
Put a few drops of the blue paint and with the help of your cosmetic sponge lightly miix the two colors o get that marble effect. Now make sure you do not press very hard to prevent from the neon base color to come off. You an do this for an accent nail like I did or do it on all your nails. To get a more funkier look, you can do the same texturing effect with different colors on all your nails. Wouldn’t that look cool?
Step 4
This step is quite optional. To enhance the accent nails on your ring finger, apply a blue nail paint on the tip of your nails. After that apply two layers of a green chunky, glittery nail polish and Voila you are done!
Step 5
Don’t forget to seal your textured nail art with your favorite top coat.

