I-Phone Cases you can make at home. Are you looking to start with some easy and simple DIY tutorials? A fun way to make an IPhone necklace case tutorial. Well there are many ways to utilise your time at home and be creative with ideas. Ever since the phones came, everyone should have a accessory to carry it. A case that keeps your phone safe. A lot of girls seem worried with how to carry their phone with them. They are always looking around for their phones at home. For their ease we thought to bring up a fabulous idea by creating a DIY IPhone necklace case tutorial.
Simple DIY I-Phone Necklace Case Tutorial
Many of you might be thinking that this isn’t an easy task. But trust me, this a very simple tutorial. You will find this really interesting. All you need to have is a collection of fabric patterns so that you can design the case with your favourite pattern. Not only you will be able to carry it around but also that it will be very safe.
Whether you are into making something girly like a floral design or a character. You could use a pressed flower case and decorate it with crystals or glitter. Rather than buying a expensive case, you can use a material that is not in use and decorate it. A simple task to create your own phone case with your choice of colour, design and embroidery. Tutorials are an easy way to teach and experiment. You just need to follow the instructions as shown in the pictures to understand how it is done. Follow the steps, and enjoy yourself while making your own phone case.
Lets begin with the fun tutorial that you will definitely love.
Things you will need
- Fabric Pattern
- Scissor
- Glue
- Needle
- Thread
- Necklace or a chain
- Ruler
- Pencil
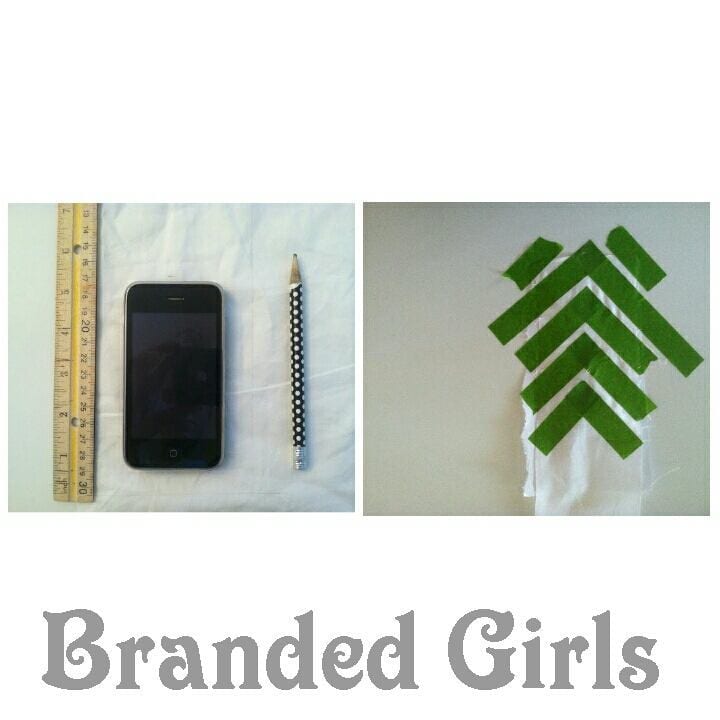
1. To begin first you will need a fabric that you want to use, a ruler to measure, a pencil and an IPhone. After measuring the size of the iPhone, you will cut the piece according to it.
2. Then you will need a tape to create a design that you want.
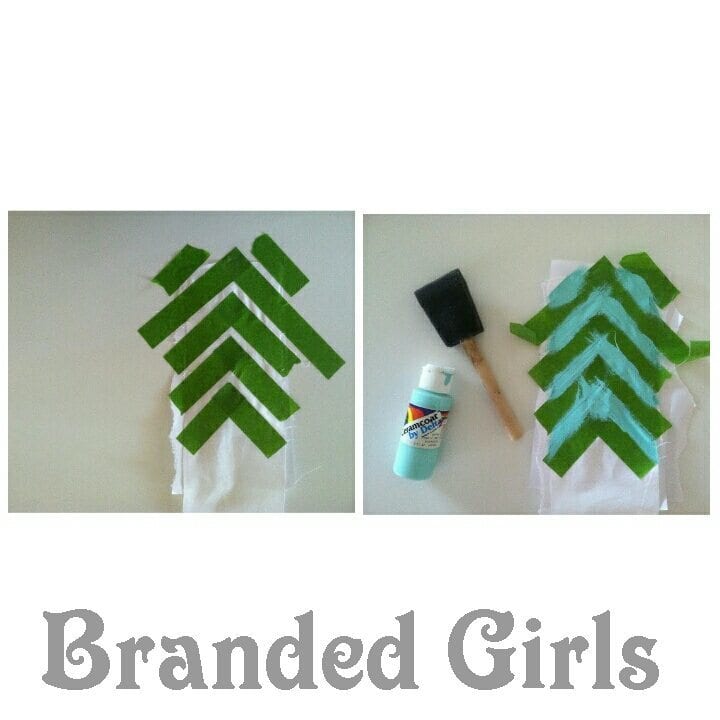
3. For this step, you will require a coloured glue and a brush. Then you will start by applying the glue around the tape to form a pattern.
4. Once the glue dries, you can remove the tape. The design that will appear after it is shown below. This is exactly what it will look like.
5. Then you can attach a chain or a necklace around it by sewing the cloth.
via
We hope you found this post easy and simple. Do try this at home and you can always look for other materials and designs that you would want to use. Be creative with it. You don’t have to exactly copy the design. Instead of copying it, you can create it on your own. Hopefully this tutorial will guide you and teach a simple technique to be done at home.


