DIY Summer Nail Art Tutorial-Summer is all about adding colors to your wardrobe, makeup and of course your nail art too. Whether you are hitting the pool or going on a party, nail arts always add that extra oomph to your look.It is back to school time and everyone is preparing on how they will manage a hectic school year. Today I will show you an easy DIY nail art called the Summer confetti that will add a pop to your cute summer school outfit and make you look different on the first day of school.I hope you are going to enjoy this lazy girl nail art that is easy and quick to make.
For this Nail Design you will need:

-A hot pink nail polish for th base of your nail art
-A lime green nail polish
-A purple nail polish with blue undertone
-A coral nail polish
-A base and top coat polish
Let’s begin with this step by step tutorial for colorful nail design.
Step 1
Apply a thin layer of your base coat to protect your nail from damaging. A base coat also keeps your nails healthy and strong.
Step 2

As soon as your base coat dries, apply two coats of your favorite hot pink nail polishes. I am a big fan of hot pink nail, they are just perfect for the summer times.
PRO TIP: put your hands in ice water to dry your nail polishes in a few seconds.
Step 3
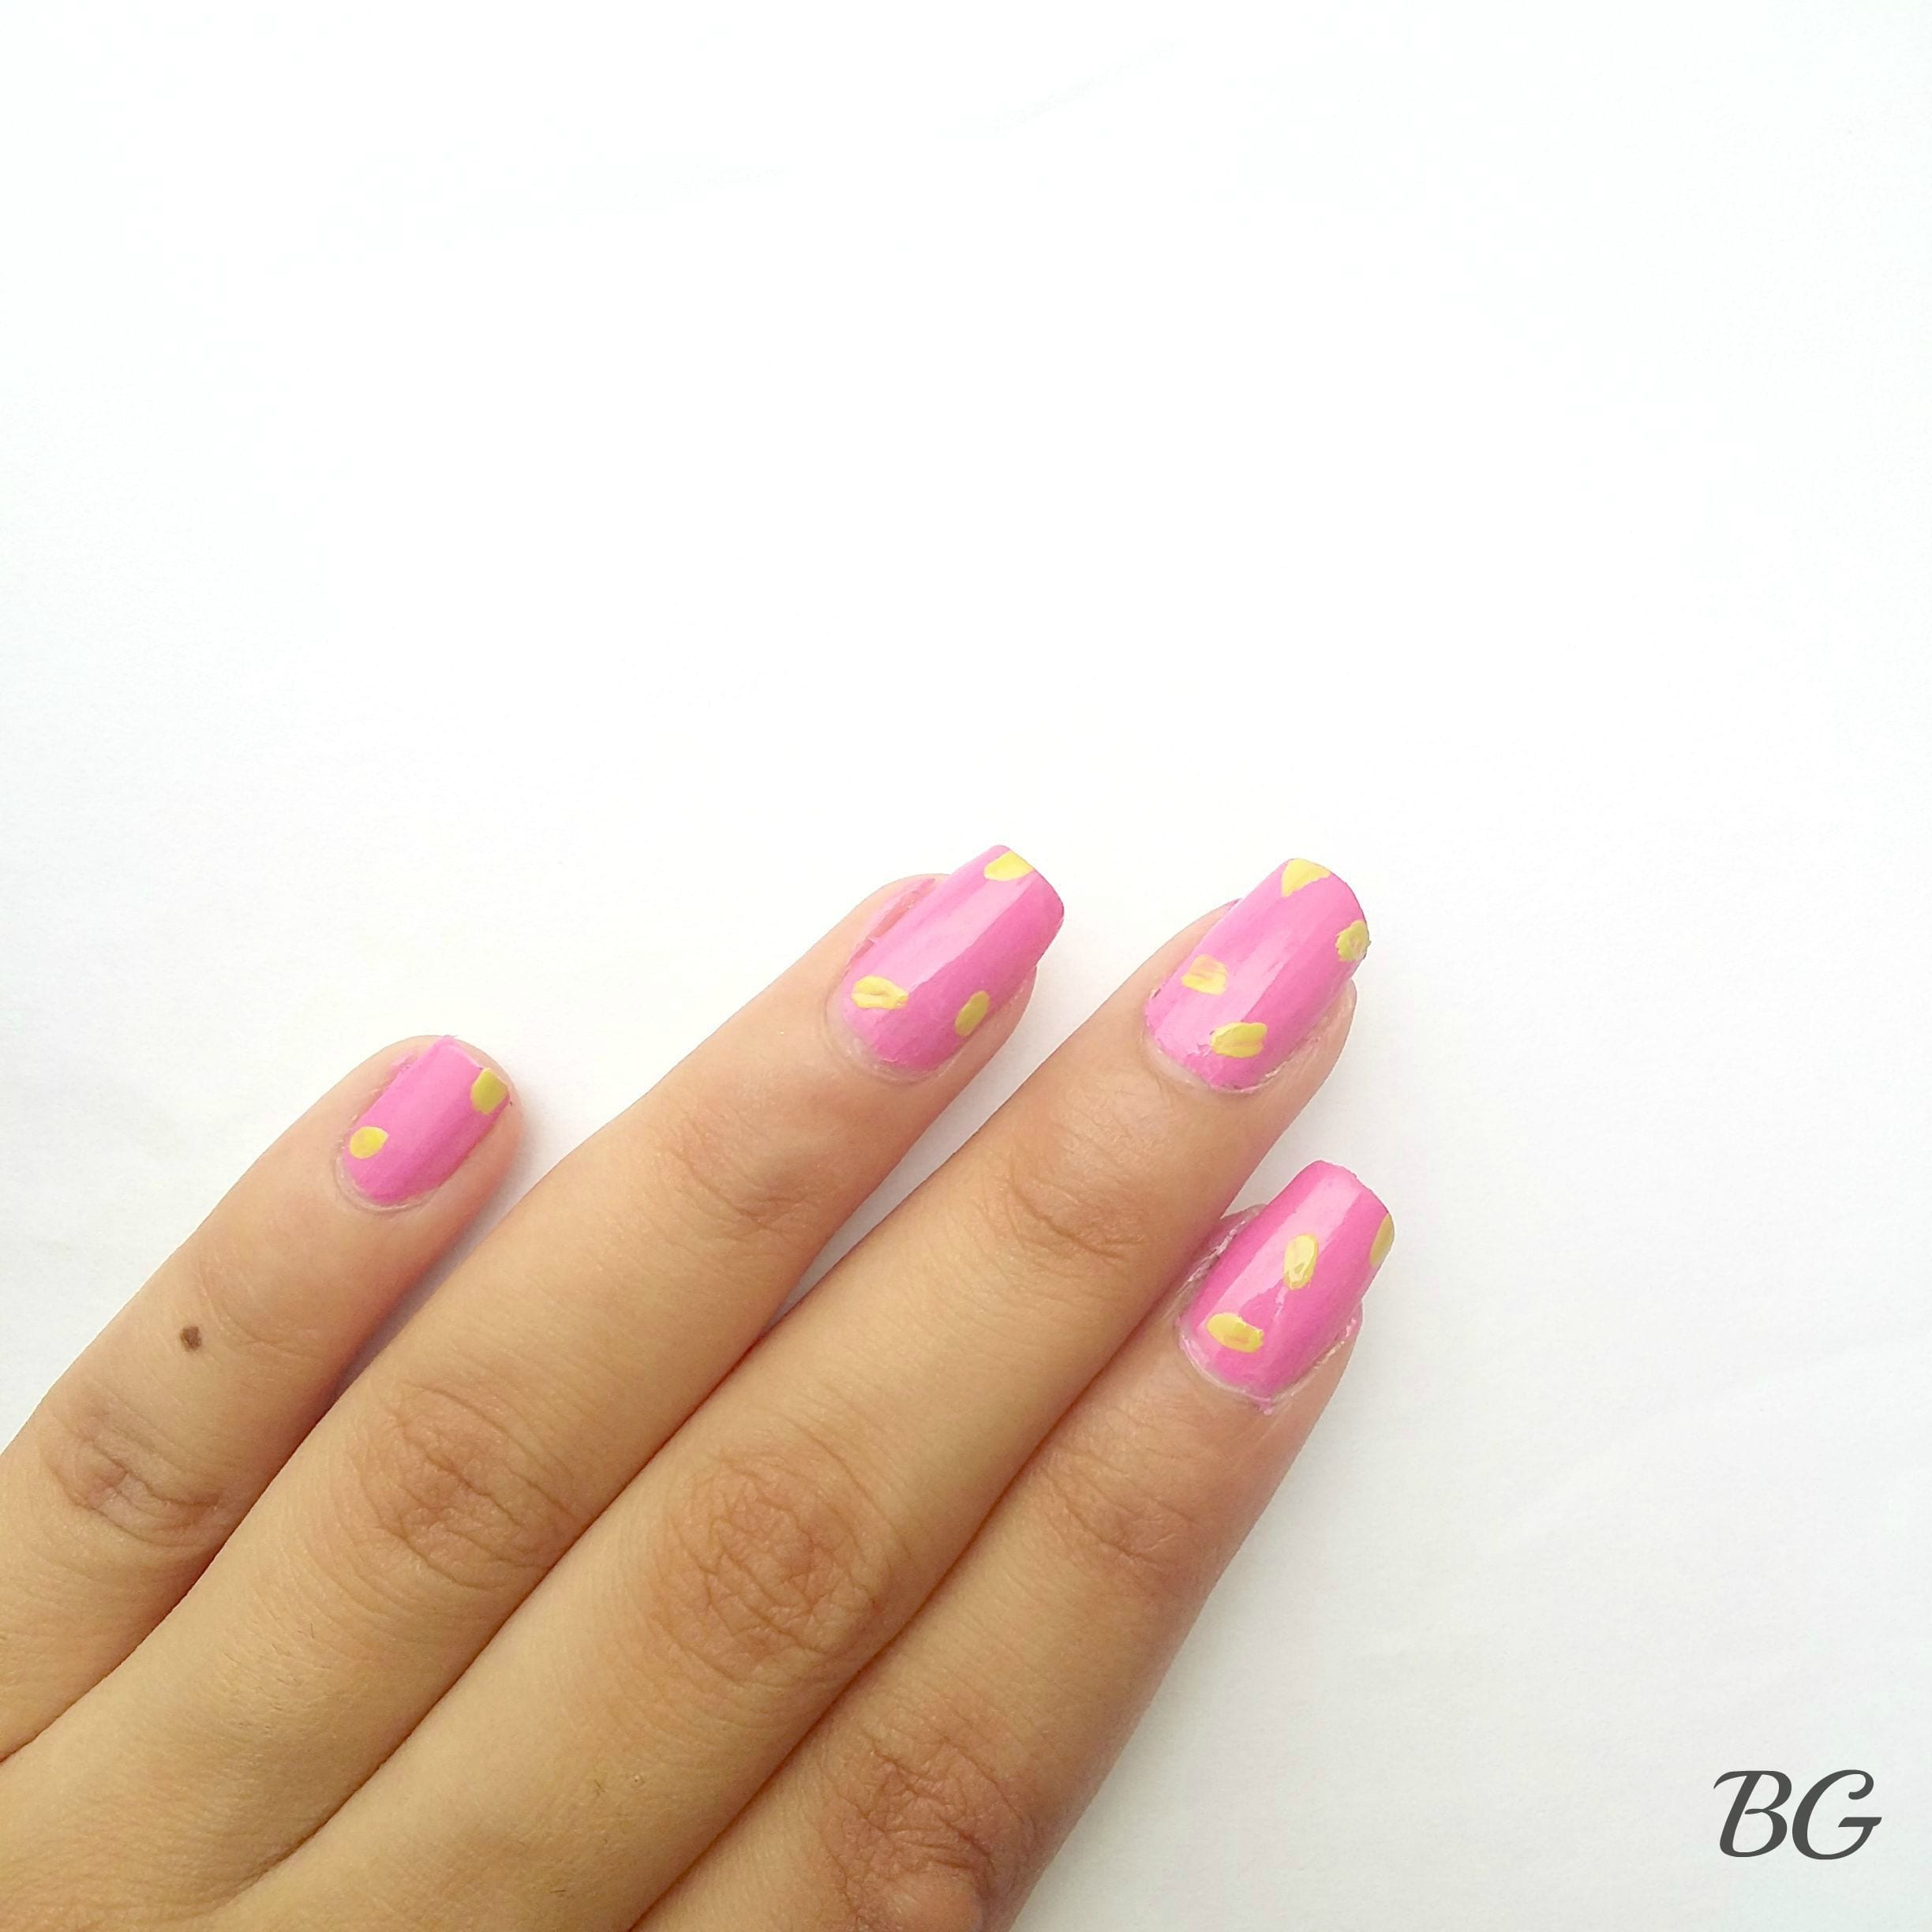
With a fine brush or tooth pick stat making small random lines with the lime green polish.
Step 4
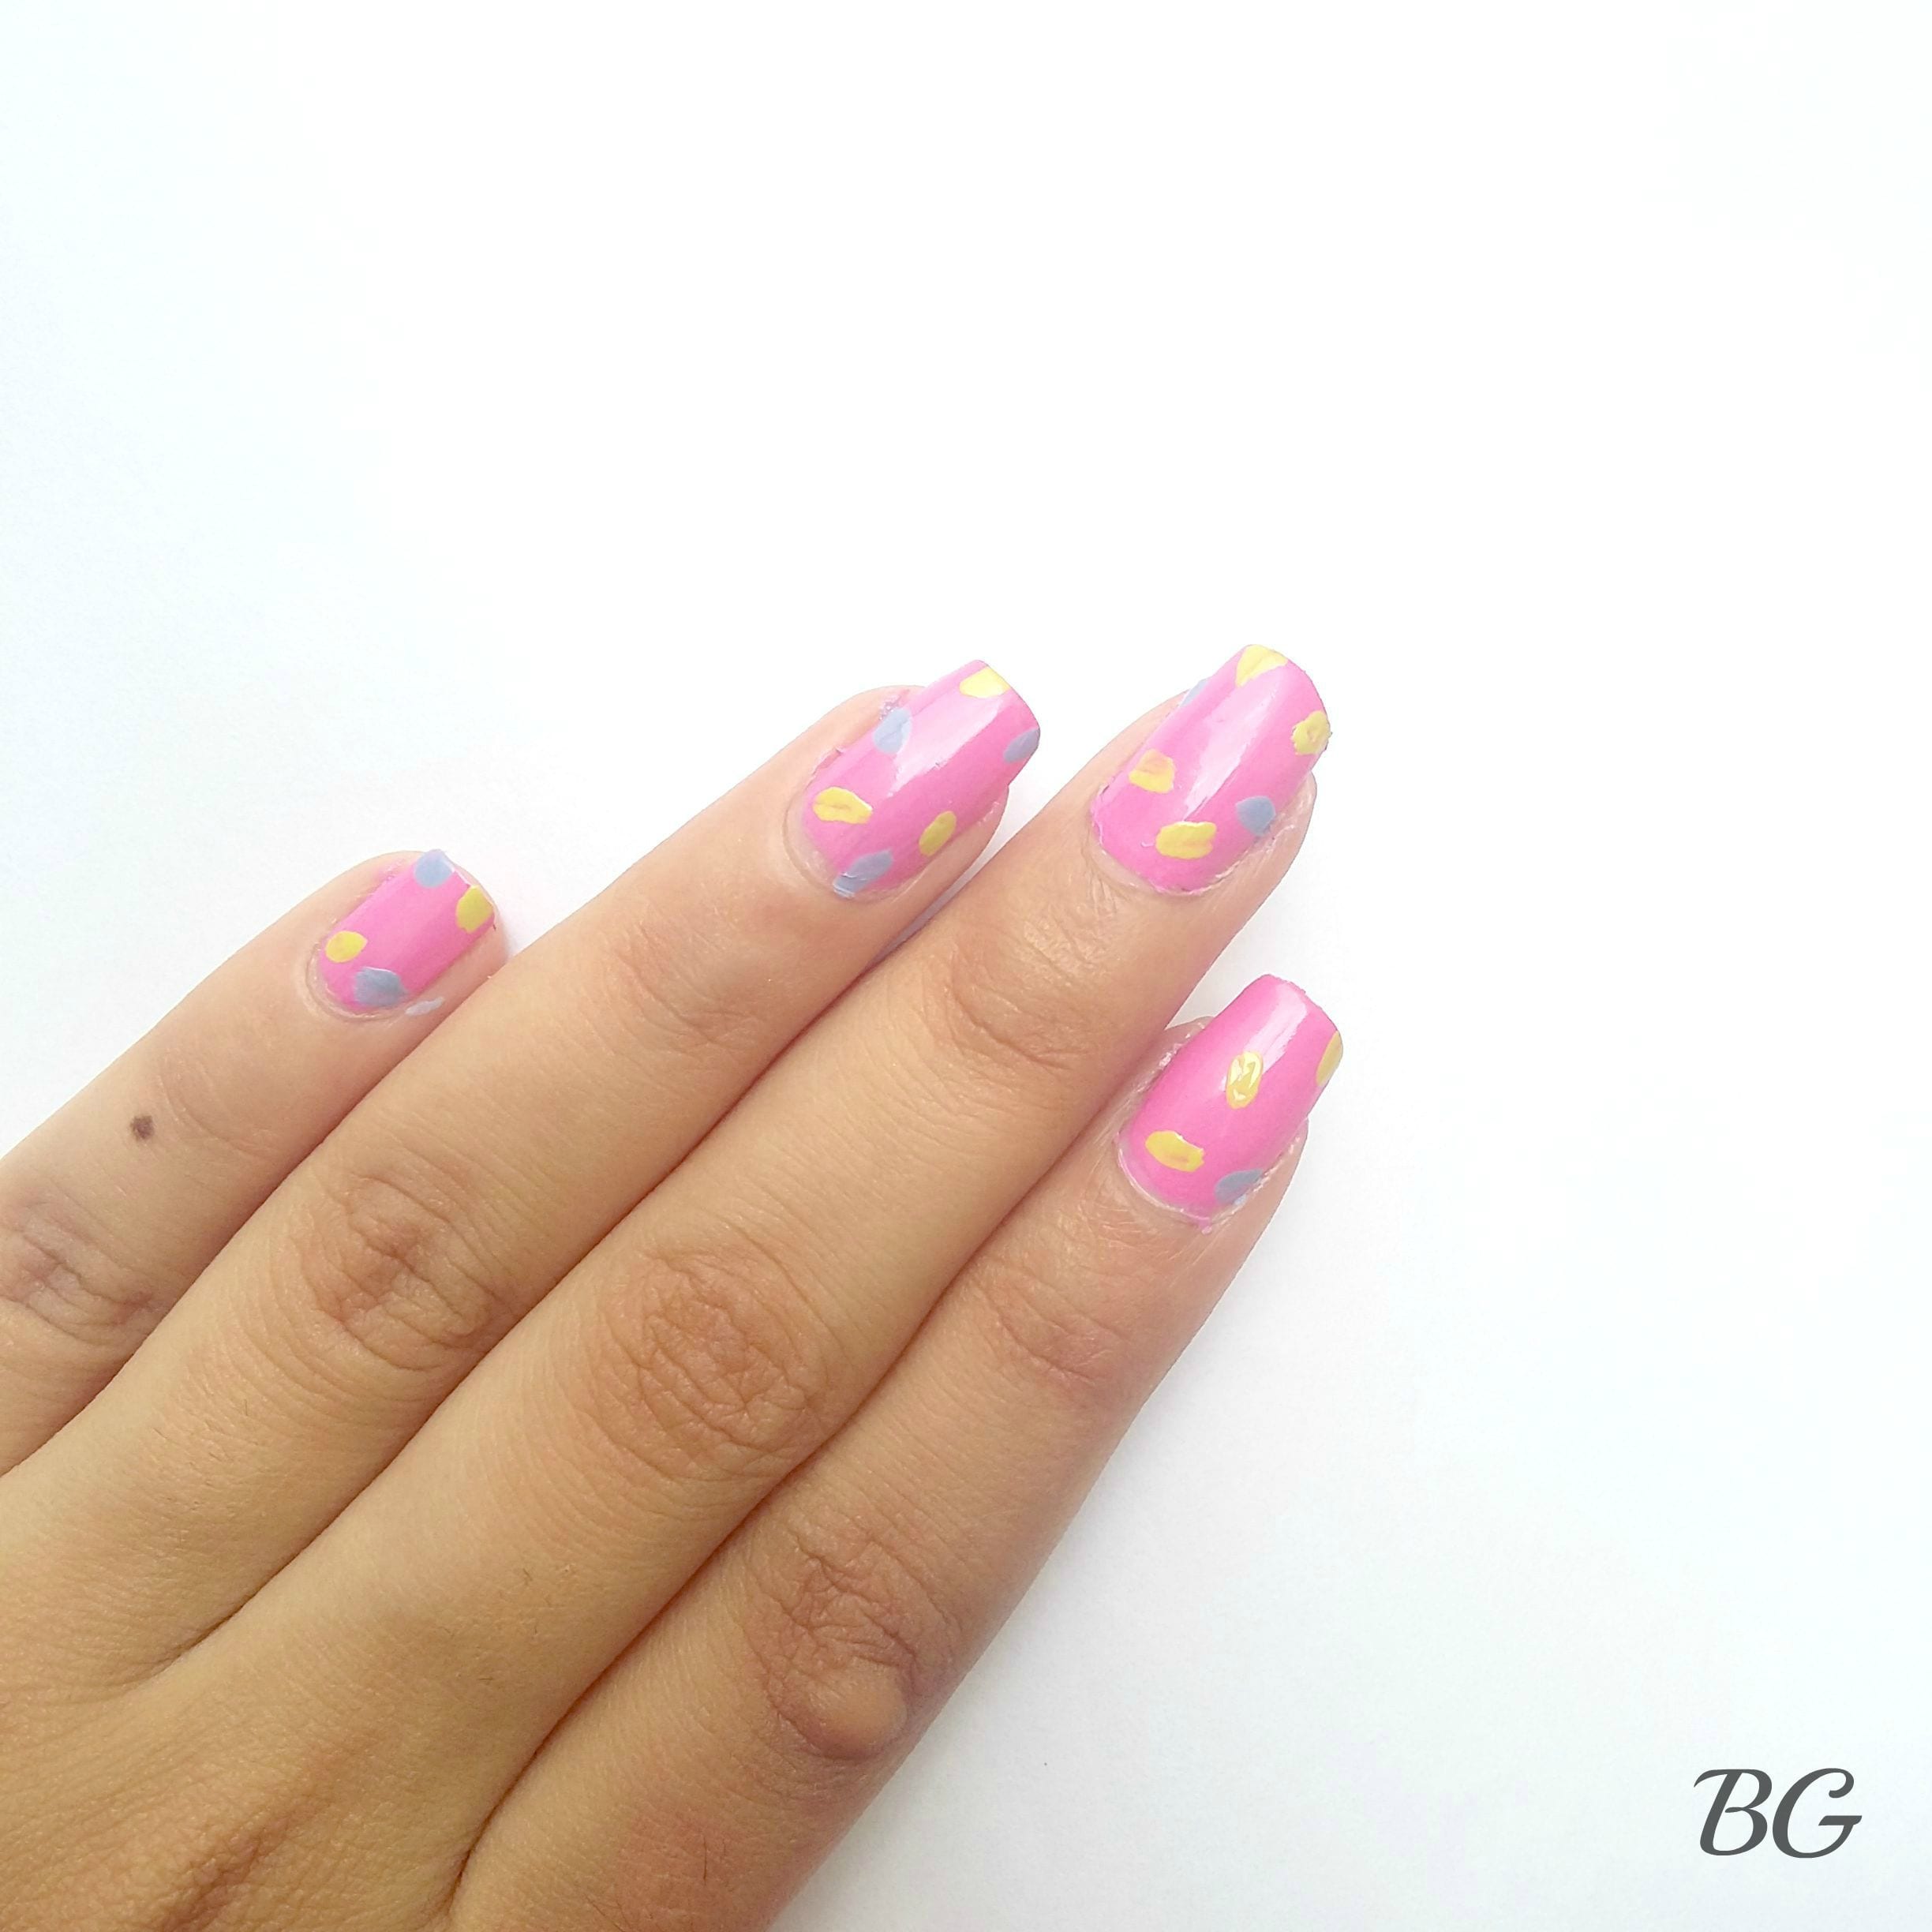
Clean your brush or toothpick and do the same as step 3 with the purple nail polish.
Step 5
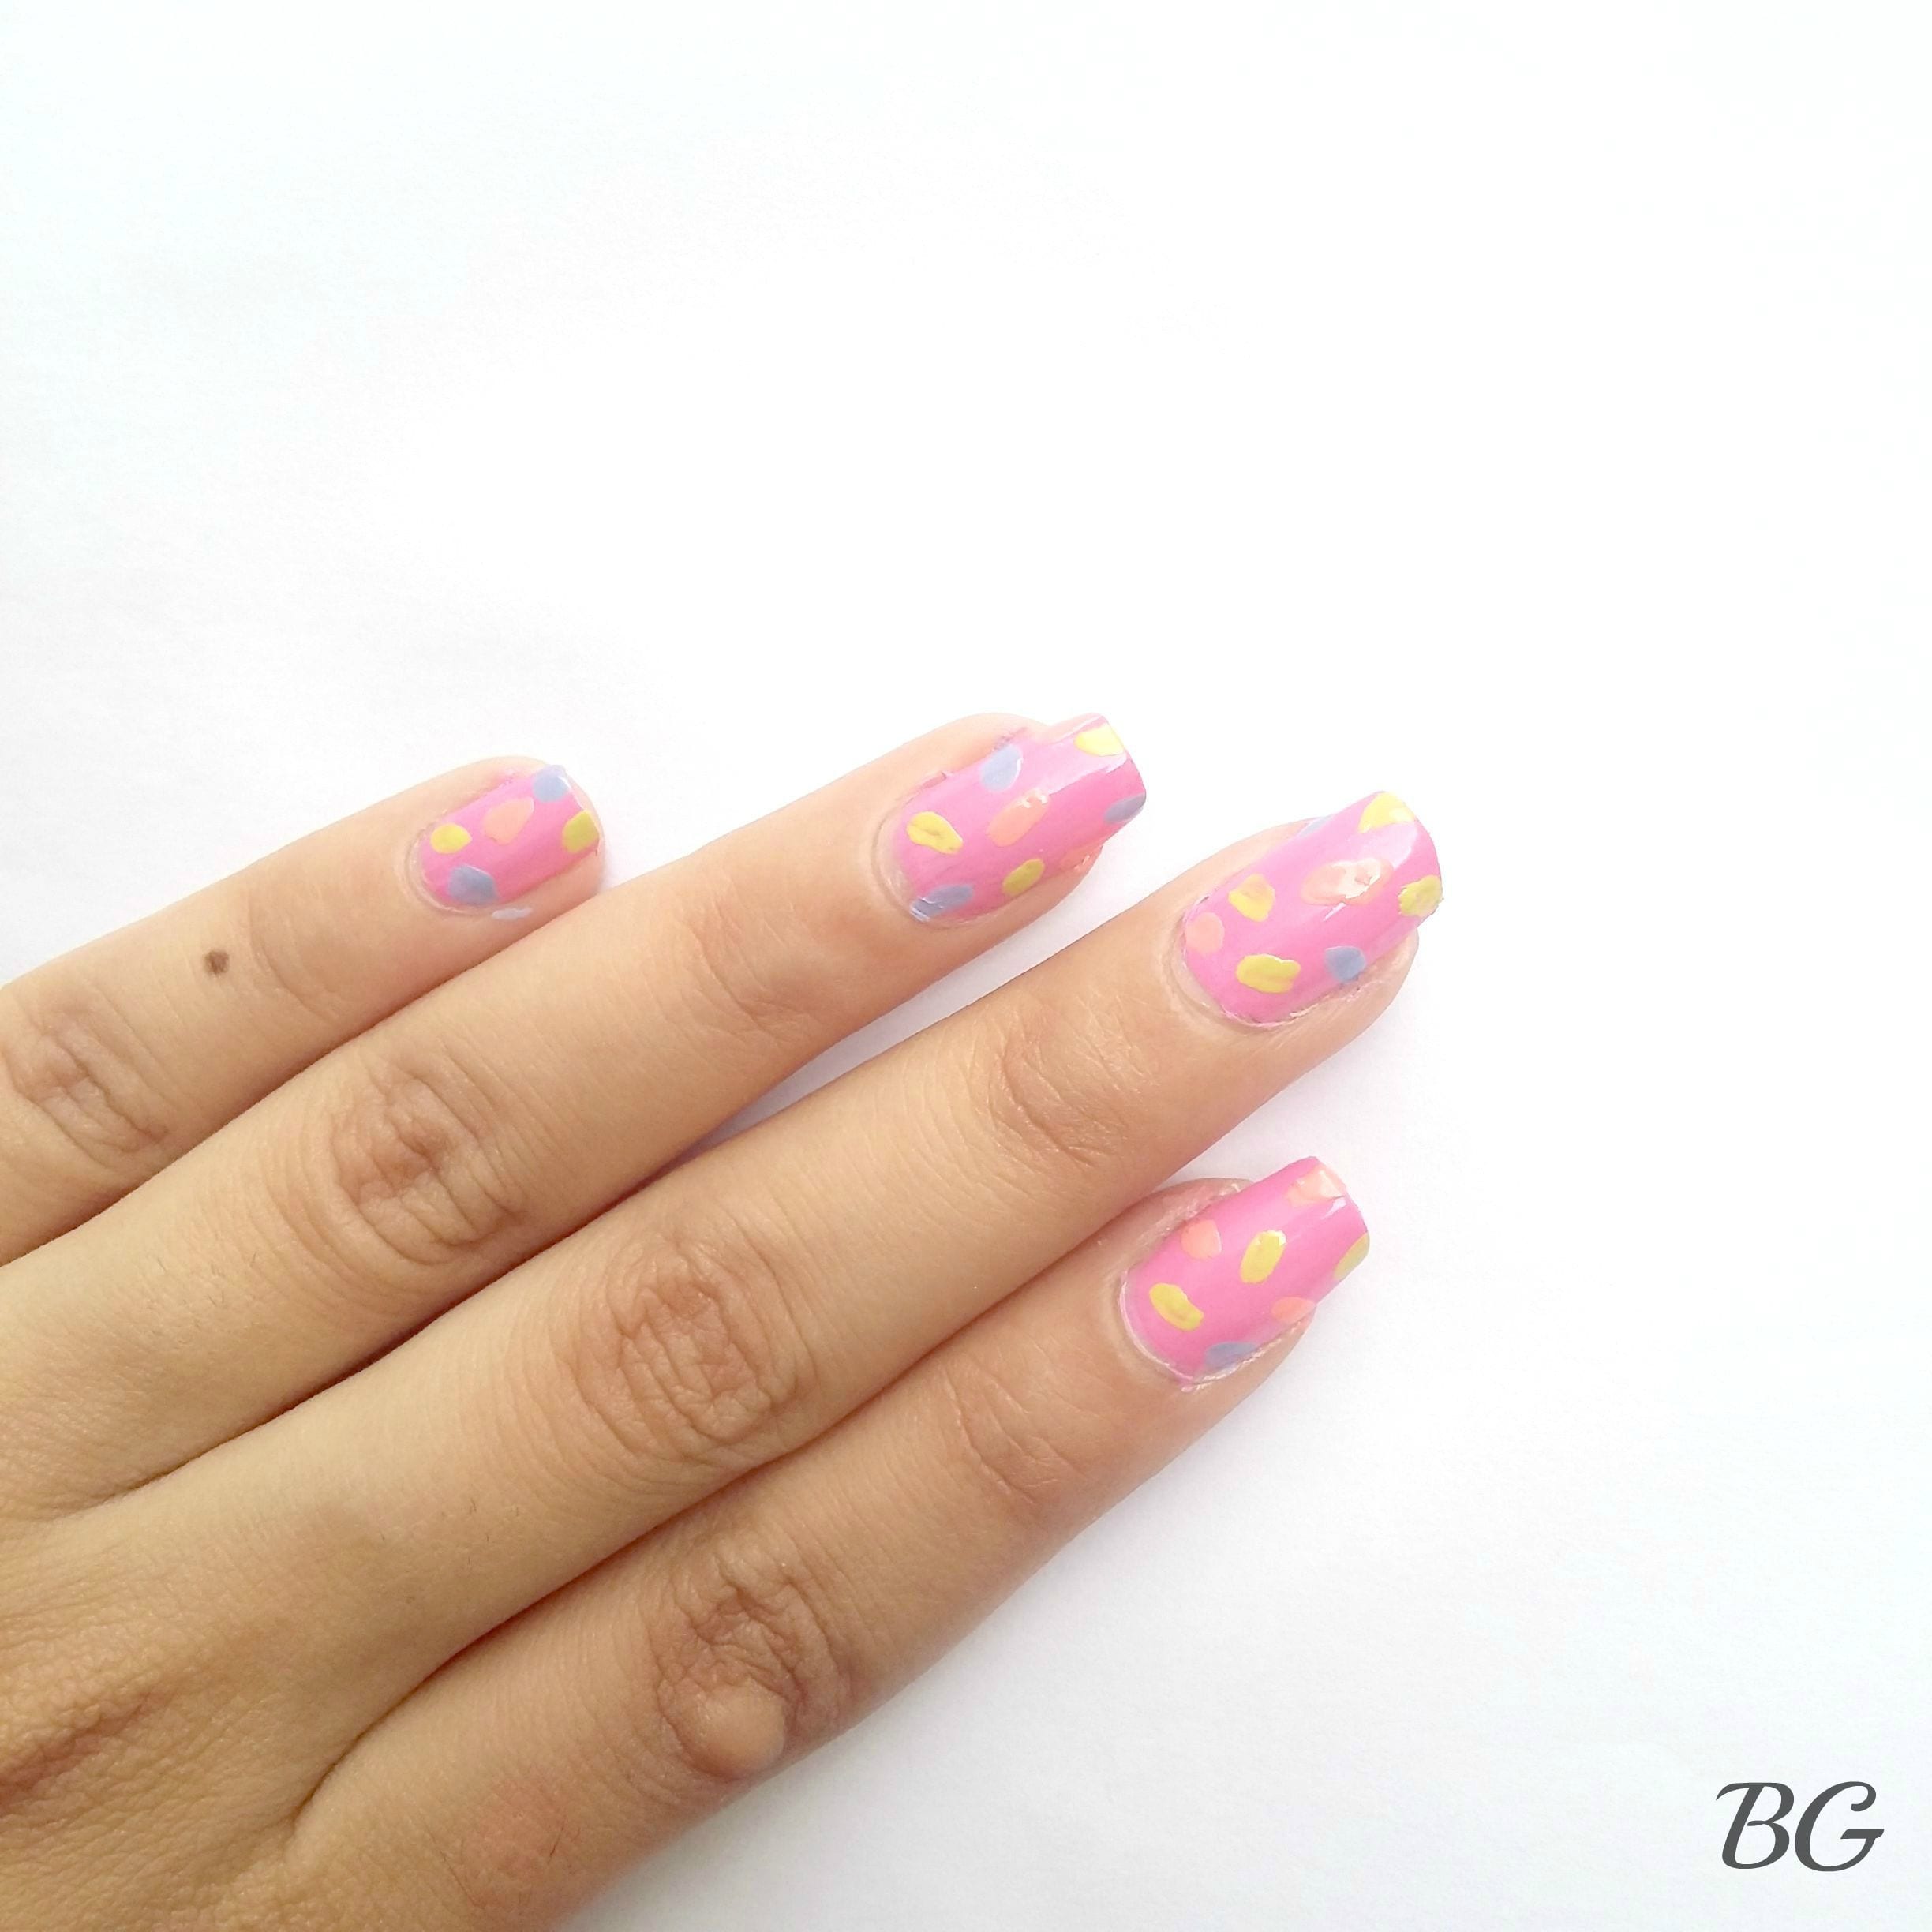
Repeat the same process with your coral polish and Voila! You r summer confetti nail art is complete.

Seal your funky Summer Confetti nail art with your favorite top coat to prevent it from chipping.

Wasn’t that easy? It is perfect nail design for beach . The best part about this summer nail design is that it is quick, easy and you can use any color to get the confetti look.

